How to Remove Beehive from Tree?
Imagine a sunny afternoon spent in your backyard, enjoying the beauty of your garden and the shade provided by a majestic tree. All seems perfect until you notice an unexpected guest – a beehive nestled high in the branches. While bees play a crucial role in pollination and maintaining the ecosystem, having a beehive in close proximity to your home or recreational areas can pose risks to your family and visitors. In such situations, knowing how to remove beehive from tree becomes essential.
Remove beehive Safety Precautions
Removing a beehive from a tree can be a challenging and potentially hazardous task. Safety should always be your top priority when dealing with bees. In this section, we’ll delve into the essential safety precautions you must take before attempting beehive removal.
A. Protective Clothing
- Bee Suit: One of the most critical pieces of equipment you’ll need is a full-body bee suit. This suit should be made of thick, protective material that covers you from head to toe. Ensure it has elastic cuffs at the wrists and ankles to prevent bees from getting inside.
- Gloves: Wear thick, leather or rubber gloves to protect your hands and wrists. Bees can sting through thin materials like latex or cloth.
- Veil or Beekeeper’s Hat: A beekeeper’s veil or hat with a veil attached is essential to protect your face and neck from stings. It should be securely fastened to your bee suit.
- Closed-Toe Shoes: Wear sturdy, closed-toe shoes, preferably with thick socks, to protect your feet and ankles from bee stings.
- Zipper and Velcro Closures: Ensure your bee suit has good quality zipper and Velcro closures to seal any potential entry points for bees.
B. Escape Plan
- Plan Your Escape Route: Before you start the removal process, identify a clear and accessible escape route. This should be a path that leads away from the tree and hive.
- Stay Calm: In the event that bees become agitated during the removal, it’s crucial to remain calm and move slowly towards your escape route.
- Avoid Swatting: Never swat at bees or make sudden, aggressive movements. This will only agitate them further.
Bee Identification
- Know Your Bees: Before attempting removal, make an effort to identify the type of bees in the hive. Honeybees are generally less aggressive than some other species like Africanized bees. If you’re unsure, it’s safer to assume they could be more aggressive and proceed with caution.
- Seek Professional Help if Uncertain: If you’re not confident in your ability to identify bee species or assess their behavior, consider contacting a local beekeeper or professional bee removal service. They can help identify the bees and provide guidance.
Professional Assistance
- Large or High Hives: For large or high hives that require climbing or special equipment, it’s strongly recommended to seek professional assistance. Professionals have the training and equipment necessary to handle these situations safely.
- Allergic Reactions: If you or anyone involved in the removal is allergic to bee stings, it’s best to hire a professional to avoid potential medical emergencies.
- Legal Considerations: Check local regulations and ordinances regarding bee removal. In some areas, removing certain bee species or harming them may be prohibited.
Protective Measures for Others
- Notify Others: If the hive is in a public area or near neighboring properties, it’s essential to notify others about the bee removal process. Put up warning signs or inform neighbors to ensure everyone’s safety.
- Isolate the Area: Create a safe work zone around the tree to prevent bystanders from accidentally walking into the area during the removal.
By following these safety precautions, you can significantly reduce the risks associated with beehive removal. Remember that safety should always come first, and when in doubt, it’s better to consult with professionals who have experience in handling bee-related issues. In the next section, we’ll discuss the equipment you’ll need for the removal process.
Gathering the Necessary Equipment
Before you embark on the task of removing a beehive from a tree, it’s crucial to gather the appropriate tools and equipment. Having the right gear on hand will make the removal process safer and more efficient. In this section, we’ll outline the essential equipment you’ll need.
Bee Suit and Protective Gear
Full-Body Bee Suit: As mentioned in the previous section, a full-body bee suit made of thick, protective material is your first line of defense. It should cover you from head to toe and have elastic cuffs at the wrists and ankles.
Gloves: Wear thick, leather or rubber gloves that extend to cover your wrists. This will protect your hands from bee stings.
Veil or Beekeeper’s Hat: A veil or beekeeper’s hat with a veil attached is essential to protect your face and neck. Ensure it is securely fastened to your bee suit.
Closed-Toe Shoes: Sturdy, closed-toe shoes are necessary to protect your feet and ankles. Thick socks can provide additional protection.
Beekeeping Tools
Bee Smoker: A bee smoker is a device that produces cool, white smoke. It calms the bees by disrupting their communication and masking alarm pheromones. Make sure to have a functioning smoker with enough fuel, such as burlap or pine needles, to last throughout the removal process.
Hive Tool: This tool resembles a small crowbar and is used for prying apart hive components and scraping away propolis. It’s handy for accessing and handling the hive.
Bee Brush: A bee brush with soft bristles is used to gently sweep bees away from the hive’s surface before removal. This helps reduce the number of bees you need to deal with during the process.
Ladder and Climbing Equipment
Sturdy Ladder: Depending on the height of the beehive in the tree, you may need a sturdy ladder to access it safely. Ensure the ladder is in good condition and placed on stable ground.
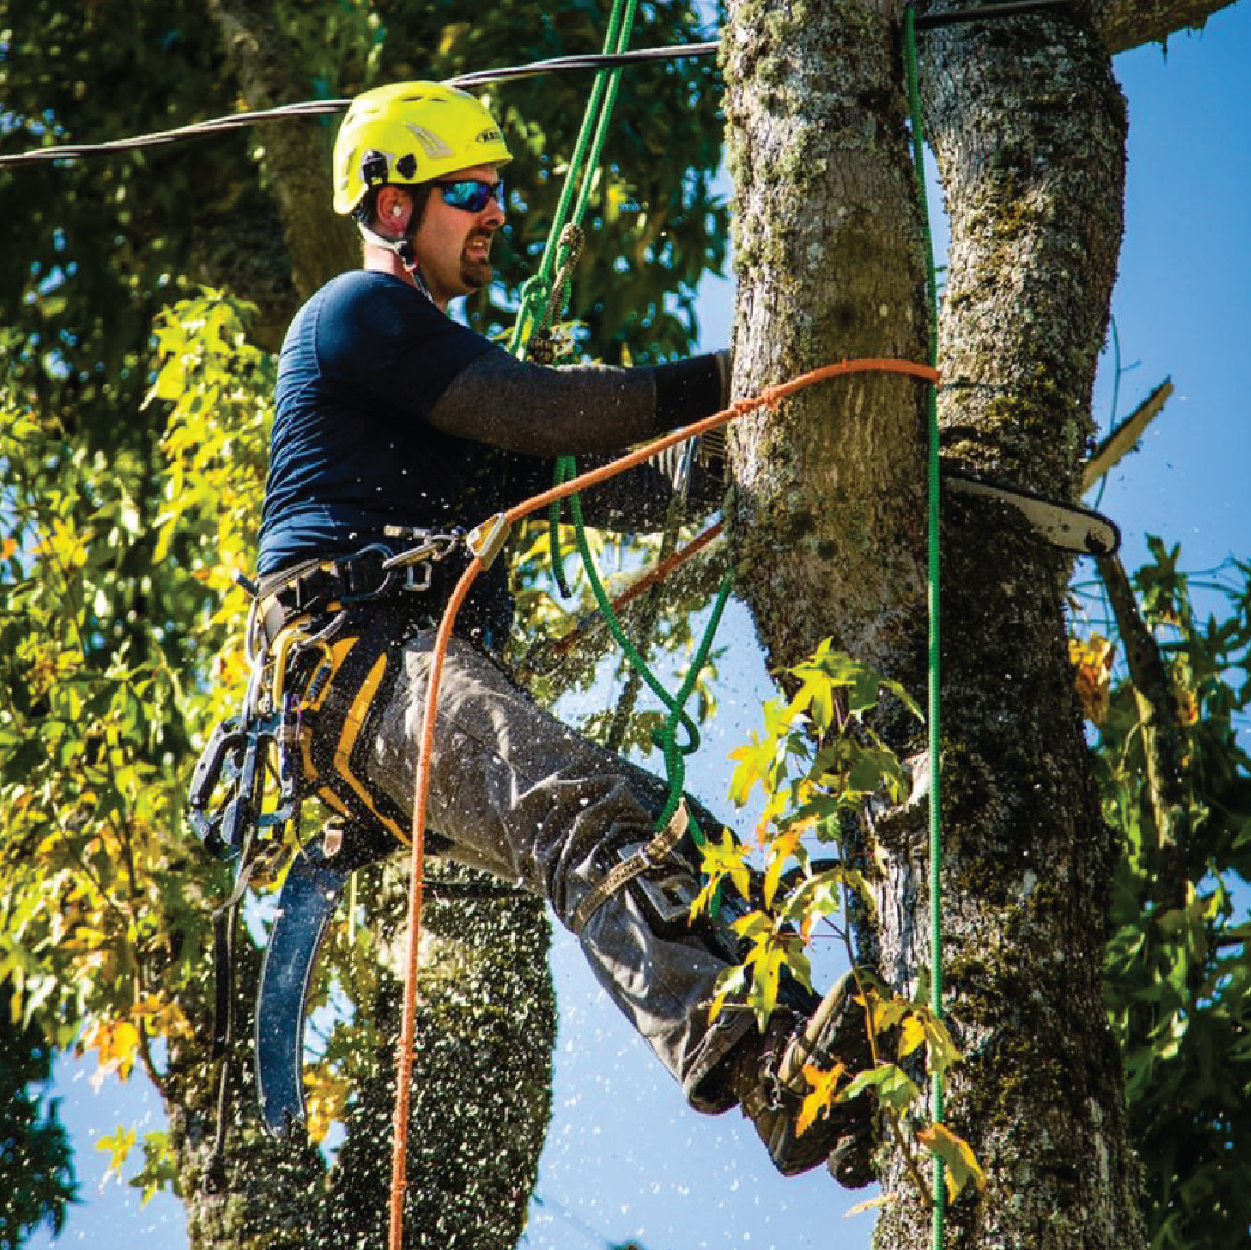
Safety Harness (if applicable): For high-hive removals, consider using a safety harness and ropes to secure yourself to the tree and prevent falls. This equipment should only be used by those with experience in its proper use.
Containers and Hive Transportation
Empty Hive Box: Prepare an empty hive box or container with frames inside to accommodate the bees and honeycomb from the removed hive. The bees will be temporarily relocated to this container.
Bee-Friendly Container: Have a bee-friendly container or box on hand for any loose bees that may be encountered during the removal process. This allows you to collect and safely transport them away from the removal area.
Straps and Fasteners: Ensure you have straps or fasteners to secure the hive box and any loose comb, preventing spillage during transportation.
First Aid Kit
Basic First Aid Kit: Keep a basic first aid kit nearby in case of bee stings or minor injuries. It should include antiseptic wipes, bandages, and any necessary medications for allergic reactions (if applicable).
Communication and Safety Gear
Cell Phone: Have a fully charged cell phone with you in case of emergencies. Ensure you have reception at the removal site.
Two-Way Radio (optional): If you’re working with a team, two-way radios can facilitate communication during the removal process.
Safety Precautions
Fire Extinguisher: Have a fire extinguisher nearby, especially if you’ll be using a bee smoker. While bee smokers are typically safe, it’s essential to be prepared for any unexpected fire risks.
Emergency Contacts: Share your location and emergency contacts with someone who is not involved in the removal, so they can call for help if needed.
By gathering these necessary tools and equipment, you’ll be well-prepared for the beehive removal process. In the next section, we’ll discuss how to assess the situation and plan for the removal.
Assessing the Situation
Before you proceed with the actual removal of the beehive from the tree, it’s essential to assess the situation carefully. Understanding the hive’s location, the behavior of the bees, and the specific conditions around the tree will help you plan your removal strategy effectively. In this section, we’ll walk you through the steps for assessing the situation.
Approach the Tree Safely
Maintain a Safe Distance: Approach the tree cautiously while keeping a safe distance from the hive. Do not approach the hive directly or disturb the bees at this stage.
Use Caution Signs: If the tree is located in a public area, consider putting up caution signs or barriers to alert others to the presence of bees and the ongoing removal process.
Observe Bee Behavior
Watch from a Distance: Stand back and observe the hive from a distance. Pay attention to the bees’ behavior around the hive entrance.
Note Flight Patterns: Take note of the flight patterns of the bees. Are they entering and exiting the hive in an orderly manner, or is there excessive activity and agitation?
Listen for Buzzing: Listen for the sound of buzzing bees. Louder buzzing may indicate increased agitation or a more aggressive hive.
Look for Bee Guards: Observe if there are guard bees stationed at the entrance. Guard bees are responsible for protecting the hive and may exhibit defensive behavior.
Hive Location and Accessibility
Determine Hive Height: Assess the height of the hive in the tree. Is it within reach from the ground, or will you need a ladder or climbing equipment to access it safely?
Check for Obstructions: Look for any branches, leaves, or other obstructions around the hive that might hinder your access.
Consider Environmental Factors: Take into account environmental factors such as wind and weather conditions. Strong winds can make the removal process more challenging and dangerous.
Preparing for Removal
After thoroughly assessing the situation and understanding the hive’s location and bee behavior, it’s time to prepare for the actual removal of the beehive from the tree. This preparation phase is essential for ensuring a safe and successful removal process. In this section, we’ll guide you through the steps to prepare for the removal.
A. Safety First
Put on Protective Gear: Before you get closer to the hive, ensure that you and anyone assisting you are wearing full-body bee suits, gloves, veils or beekeeper’s hats, and closed-toe shoes. Double-check that all protective gear is securely fastened.
Confirm Escape Route: Reconfirm your escape route and make sure it’s clear of obstacles. Everyone involved should know how to reach this safe zone quickly if needed.
Review Safety Precautions: Remind yourself and your team of the safety precautions outlined earlier, emphasizing the importance of remaining calm and avoiding sudden movements.
B. Work Area Preparation
Secure the Area: If the hive is in a public place or near neighbors’ properties, make sure the area is secure. Use caution signs, barriers, or caution tape to mark off the work zone.
Notify Others: Inform neighbors or anyone nearby about the ongoing removal process, especially if it might affect them. Communicate clearly that they should stay at a safe distance.
Prepare Equipment: Ensure that all your beekeeping equipment, including the smoker, hive tool, bee brush, ladder (if needed), and containers for the bees and comb, is readily accessible.
C. Gather Necessary Supplies
Fuel for the Smoker: Check the fuel supply for your bee smoker, making sure you have enough to last throughout the removal process. Burlap or pine needles are commonly used fuels.
Empty Hive Box: Have your empty hive box or container with frames ready for the bees. Make sure it’s within reach but not too close to the hive to avoid disturbing the bees prematurely.
Bee-Friendly Container: Keep your bee-friendly container or box for collecting any loose bees nearby but away from the hive’s immediate vicinity.
Straps and Fasteners: Have straps or fasteners ready to secure the hive box and any comb you may need to remove.
D. Communication and Coordination
Team Communication: If you have a team assisting you, ensure clear communication channels. Review roles and responsibilities, especially if multiple people will be involved in the removal process.
Two-Way Radios (if applicable): If using two-way radios, test them to ensure they are functioning correctly and that everyone can hear and communicate effectively.
E. Prepare the Bee Smoker
Light the Smoker: Light the bee smoker and allow it to produce cool, white smoke. Ensure it’s functioning correctly and have additional fuel on hand in case it needs replenishing during the removal.
Keep Smoker Handy: Keep the smoker within easy reach but not too close to the hive. You’ll use it to calm the bees during the removal.
The Beehive Removal Process
Now that you’ve assessed the situation and made all the necessary preparations, it’s time to embark on the actual beehive removal process. This section will guide you through each step of the removal, from using the bee smoker to safely lowering the hive to the ground.
Step 1: Smoke the Bees
Approach the Hive Gently: Approach the hive calmly and gently. Avoid sudden movements that could agitate the bees.
Lightly Puff Smoke: Use the lit bee smoker to release cool, white smoke at the entrance of the hive. This smoke calms the bees by disrupting their communication and masking alarm pheromones.
Work Slowly: Continue puffing smoke lightly as you work. Slow, deliberate movements will help prevent the bees from becoming overly agitated.
Monitor Bee Behavior: Observe how the bees react to the smoke. You should see them calming down and retreating inside the hive.
Final Steps For Beehive Removal
Congratulations on successfully removing the beehive from the tree and relocating it to a safer location! While the most critical part of the process is complete, there are still important steps to follow to ensure the safety of your surroundings and the well-being of the relocated bees. In this section, we’ll go over the final steps and precautions.
Seal the Hive Entrance
Use Breathable Material: The bees in the relocated hive need time to settle into their new home. To prevent them from flying out prematurely, seal the hive entrance using a breathable material like mesh or burlap.
Securely Fasten: Ensure that the material is securely fastened to the hive box or container, leaving only a small opening for ventilation.
Monitor Activity: Check the hive periodically to see if the bees have started coming and going freely. Once you notice consistent activity at the entrance, it’s safe to remove the sealing material.
Check for Stragglers
Inspect the Work Area: After removing the hive and securing the entrance, carefully inspect the work area for any stray bees that may have been left behind.
Use Bee-Friendly Container: If you find any stray bees, use your bee-friendly container to collect and relocate them to the new hive. Be gentle and patient during this process.
Provide Water: Consider leaving a shallow dish of water nearby to provide a water source for any remaining bees. This can be helpful as they adjust to their new environment.
Clean Up the Work Area
Remove Debris: Gather all equipment, tools, and debris from the work area. It’s essential to leave the area clean to minimize the attraction of other pests or scavengers.
Dispose of Beekeeping Equipment: If you used disposable or single-use beekeeping equipment, properly dispose of it in accordance with local waste disposal regulations.
Dispose of Cut Branch or Section: If you removed a branch or section of the tree, dispose of it in a manner compliant with local regulations. This may involve recycling, composting, or specific disposal methods.
Monitor for Bee Activity
Keep an Eye Out: Over the next few days, keep an eye on the removed hive’s new location. Monitor for bee activity to ensure that the bees are settling in and not attempting to return to their old nesting site.
Check for Swarming: Occasionally, bees may swarm if they are unhappy with their new location. If you notice swarming behavior, consult with local beekeepers or experts for guidance on managing the situation.
Seek Professional Assistance (if needed)
Consult Beekeepers: If you encounter challenges or uncertainties during the aftercare process, don’t hesitate to reach out to local beekeepers or beekeeping associations for advice.
Consider Beekeeping: If you’re interested in becoming a beekeeper, this is an excellent opportunity to start. Research local beekeeping regulations and resources to embark on your beekeeping journey.
Related Posts:
Share Your Experience
Document the Process: Consider documenting your beehive removal experience with photos or notes. Sharing your knowledge can be valuable to others who may face similar situations.
Share Your Story: If you’re willing, share your story and insights with the community, whether through social media, local forums, or beekeeping groups. It can be a helpful resource for others.
By following these final steps, you’ll ensure that the beehive removal process is completed safely and responsibly. Your efforts not only protect your immediate environment but also contribute to the preservation of bee populations, which are vital to our ecosystem. If you’ve developed an interest in beekeeping, this experience can mark the beginning of a rewarding journey into the world of bee care and pollination support.
Conclusion
As you continue your journey as a bee steward, remember that beekeeping is a rewarding and educational endeavor. It connects you with nature, fosters an appreciation for these remarkable insects, and contributes to the well-being of the environment. Your actions to safely remove and relocate a beehive from a tree demonstrate your commitment to coexisting harmoniously with nature’s wonders. By sharing your experiences and knowledge with others, you can inspire a collective effort to protect and preserve these essential pollinators.
FAQs
- Is it safe for me to take out a beehive from a tree by myself?
Bees can become aggressive when their hive is disturbed, making it dangerous to remove a beehive from a tree. To safely remove the hive, it is strongly suggested that you hire a professional beekeeper or pest control expert with the necessary experience and equipment.
- How much does removing a beehive from a tree cost?
The expense of colony of bees expulsion can change contingent upon factors like the area, size of the hive, and the trouble of access. It’s ideal to contact nearby honey bee expulsion administrations for statements.
- Are there any lawful limitations or licenses expected for colony of bees expulsion from a tree?
Beehives, particularly honeybee hives, may require permits and regulations to be removed in some regions. Check with local authorities or beekeeping organizations to see if there are any legal requirements.
- How would it be a good idea for me to respond on the off chance that I or another person gets stung while attempting to eliminate a bee colony from a tree?
If someone gets stung by bees while trying to remove a beehive, they should go to the doctor right away if they have severe allergic reactions. In any case, wash the sting region with cleanser and water, apply a virus pack, and assume control over-the-counter painkillers if necessary.
- When removing a beehive from a tree, can the bees be moved instead of killed?
Yes, numerous professionals provide bee relocation services in which the hive and bees are relocated to a more suitable location after being safely captured. This is a harmless to the ecosystem approach that safeguards the honey bee populace. Make certain to talk about this choice with the expulsion master you recruit.


