How to remove palm tree roots?
Palm trees can add a touch of exotic beauty to your landscape, swaying gracefully in the breeze and creating a tropical ambiance. However, there comes a time when these majestic trees, or their root systems, can become problematic. Whether you’re dealing with a palm tree that has outgrown its space or its roots are encroaching on structures or neighboring plants, knowing how to remove palm tree roots is essential. In this comprehensive guide, we will walk you through the process of safely and effectively removing palm tree roots. We’ll cover everything from understanding the structure of palm tree roots to the step-by-step removal process. By the end of this article, you’ll have the knowledge and confidence to tackle palm tree root removal on your own.
Why Remove Palm Tree Roots?
Palm trees are known for their unique root systems, which can spread out widely, seeking water and nutrients. While these roots are essential for the tree’s survival, they can sometimes become a nuisance. Here are a few common reasons why you might need to consider removing palm tree roots:
Space Constraints: Over time, palm trees can grow larger than anticipated, and their extensive root systems can crowd out other plants or structures in your yard.
Structural Damage: Palm tree roots can penetrate underground pipes, foundations, and driveways, causing costly damage.
Safety Concerns: As palm tree roots age, they can become exposed and pose tripping hazards or make mowing and landscaping difficult.
Aesthetics: If you’re redesigning your landscape or want a cleaner, more organized appearance, removing palm tree roots may be necessary.
In the following sections, we will delve into the details of palm tree root removal, including the tools you’ll need, safety precautions, and a step-by-step guide to ensure you can handle this task effectively and safely.
So, let’s roll up our sleeves and get ready to bid farewell to those troublesome palm tree roots!
Understanding Palm Tree Roots
Before diving into the process of removing palm tree roots, it’s crucial to have a basic understanding of how these roots grow and function. Palm tree roots differ from those of many other tree species, and knowing their characteristics can help you plan and execute the removal process effectively.
The Structure of Palm Tree Roots
Fibrous Root System: Unlike trees with taproots, palm trees have a fibrous root system. This means that their roots are composed of numerous small, slender roots that spread out horizontally rather than growing deep into the ground. These fibrous roots are excellent at anchoring the tree and absorbing water and nutrients from the soil surface.
Surface Roots: Palm tree roots tend to grow close to the surface, typically within the top few feet of soil. This shallow root system allows them to quickly capture rainwater and nutrients, making palm trees well-suited for arid environments.
Lateral Growth: Palm tree roots radiate outward from the base of the tree in all directions. They can extend well beyond the tree’s canopy, sometimes reaching several feet from the trunk. This lateral growth pattern is important to consider when planning removal.
Why Palm Tree Roots Can Be Problematic
While palm tree roots serve critical functions for the tree, there are situations where they can become problematic:
Overcrowding: The lateral spread of palm tree roots can lead to overcrowding in your yard, potentially displacing other plants and affecting the aesthetics of your landscape.
Surface Damage: As mentioned earlier, palm tree roots grow close to the surface. This can result in exposed roots that create tripping hazards or interfere with lawn maintenance.
Property Damage: The shallow, spreading nature of palm tree roots can make them more likely to encroach on underground structures like pipes, sidewalks, and foundations, causing structural damage over time.
Understanding the structure and growth patterns of palm tree roots is essential as you prepare to remove them. In the following sections, we will discuss the necessary tools and safety precautions for the job and guide you through the step-by-step process of removing these roots from your landscape.
Safety Precautions
Removing palm tree roots, like any tree-related task, should always be approached with safety as the top priority. Before you embark on this project, it’s crucial to understand and implement the necessary safety precautions. By doing so, you can reduce the risk of accidents and ensure a smooth and secure removal process.
Protective Gear
Before you start removing palm tree roots, make sure you have the following protective gear:
Safety Glasses: Protect your eyes from flying debris and dust.
Hearing Protection: Use earplugs or earmuffs if you’ll be operating loud machinery like chainsaws.
Gloves: Wear sturdy, non-slip gloves to provide a better grip on tools and protect your hands from cuts and blisters.
Steel-Toed Boots: Choose boots with steel toes to shield your feet from potential falling objects.
Tools in Good Condition
Inspect all tools and equipment before use to ensure they are in good working order. Dull or damaged tools can be dangerous and less effective. The essential tools for palm tree root removal may include a chainsaw, shovel, root saw, and digging tools. Keep these tools sharp and well-maintained.
Clear the Work Area
Before you start cutting or digging, clear the work area of any obstructions, debris, or tripping hazards. Ensure that no one else is present in the vicinity, especially when operating heavy machinery like chainsaws.
Evaluate the Tree’s Stability
Assess the stability of the palm tree itself. If the tree is leaning, diseased, or in an unstable condition, consider hiring a professional arborist to evaluate and potentially remove the entire tree. Removing roots from an unstable tree can increase the risk of it falling.
Know Your Limits
Tree root removal can be physically demanding. If you have any health conditions or physical limitations, it’s best to consult with a professional tree removal service. They have the experience and equipment to handle the job safely.
Follow Local Regulations
Check with your local authorities or municipality for any permits or regulations related to tree root removal. Some areas may have specific rules governing the removal of certain tree species or tree sizes.
Work Methodically
Take your time and work methodically through the removal process. Rushing can lead to accidents and mistakes. Follow a step-by-step plan, which we’ll outline in the subsequent sections of this guide.
By prioritizing safety and adhering to these precautions, you’ll be better prepared to tackle the task of removing palm tree roots with confidence and minimize the associated risks.
Assessing the Situation
Before you jump into the process of removing palm tree roots, it’s essential to thoroughly assess the situation. This step will help you determine the extent of the problem, plan your approach, and ensure that the root removal process is carried out effectively.
Identify the Affected Area
Start by identifying the area where the palm tree roots are causing issues. Look for signs such as:
Exposed Roots: Roots that have emerged above the ground.
Displaced Soil: Soil mounds or depressions around the base of the tree.
Structural Damage: Cracks in sidewalks, driveways, or nearby structures.
Plant Competition: Poor growth or withering of nearby plants due to root competition.
Locate the Main Roots
Identify the main roots that need to be removed. These are typically the larger, more prominent roots that are causing the problems. You may need to do some digging to uncover these roots and assess their size and extent.
Measure the Root Diameter
Use a measuring tape or ruler to determine the diameter of the main roots. This information will help you choose the appropriate tools for the job, especially when it comes to cutting the roots.
Consider the Tree’s Health
Evaluate the overall health of the palm tree. If the tree is diseased, infested with pests, or shows signs of severe stress, removing its roots might not be the best solution. It may be more prudent to consult with an arborist and consider removing the entire tree.
Plan Your Approach
Based on your assessment, develop a clear plan of action for removing the palm tree roots. Consider factors like the proximity of structures, the depth of the roots, and the equipment you have available. Having a well-thought-out plan will make the removal process more efficient and minimize potential complications.
Gather Necessary Tools and Materials
Refer to your plan and gather the tools and materials needed for the job. Ensure that your tools are in good working condition and that you have all the safety gear required.
By thoroughly assessing the situation before starting the palm tree root removal process, you’ll be better equipped to handle the task effectively and safely. In the following sections, we will delve into the specific tools you’ll need and provide a step-by-step guide for successful root removal.
Tools and Materials
To successfully remove palm tree roots, you’ll need a set of essential tools and materials designed to make the process safer and more efficient. Having the right equipment at your disposal is crucial for ensuring that your root removal project goes smoothly.
Tools for Removing Palm Tree Roots
Chainsaw: A chainsaw with a sharp blade is essential for cutting through the larger palm tree roots. Ensure it’s in good working condition and that you have the necessary safety gear for chainsaw use.
Root Saw: A root saw, also known as a pruning saw, is handy for cutting smaller or hard-to-reach roots. It allows for precise cuts and better control.
Shovel: A sturdy shovel will help you dig around the roots and create space for cutting and extraction. Choose one with a strong blade and handle.
Digging Tools: Depending on the size and depth of the roots, you may need digging tools like a mattock, pickaxe, or trenching shovel to access and expose the roots.
Safety Gear: As mentioned earlier in the safety precautions section, safety gear includes safety glasses, hearing protection, gloves, and steel-toed boots.
Measuring Tape or Ruler: Use this to measure the diameter of the main roots, which will guide your choice of cutting tools.
Materials and Supplies
Safety Barrier Tape: If you want to cordon off the work area to prevent others from accidentally entering, safety barrier tape can be helpful.
Stump Grinder (optional): If you’re dealing with a stump after root removal, a stump grinder can simplify the task of grinding down the remaining stump.
Safety Cones or Signs: These can be used to alert people to the work in progress and ensure their safety.
Disposal Containers: Have containers or bags ready for the disposal of cut roots and debris.
Soil or Fill Material: After removing the roots, you may need soil or fill material to level the area and fill any holes left behind.
Before using any of these tools, remember to prioritize safety by wearing the appropriate protective gear and adhering to safety precautions.
Step-by-Step Guide to Removing Palm Tree Roots
Now that you’ve assessed the situation and gathered the necessary tools and materials, it’s time to dive into the actual process of removing palm tree roots. Follow these step-by-step instructions to ensure a safe and successful root removal:
Preparation
Clear the Work Area: Remove any debris, obstacles, or loose soil from the area around the palm tree. Clear a safe working space to prevent accidents.
Put on Safety Gear: Ensure you are wearing all the necessary safety gear, including safety glasses, hearing protection, gloves, and steel-toed boots.
Cutting the Roots
Identify the Main Roots: Locate the main roots that need to be removed based on your earlier assessment. These are usually the larger roots causing issues.
Measure the Root Diameter: Use a measuring tape or ruler to measure the diameter of the main roots. This measurement will guide your choice of cutting tools.
Chainsaw Use: If the roots are large and substantial, carefully use a chainsaw to cut through them. Start with smaller, less critical roots to gain experience before tackling larger ones.
Root Saw Use: For smaller or hard-to-reach roots, a root saw can be more precise. Make clean, careful cuts to avoid damaging the tree or creating jagged edges.
Digging and Extraction
Dig Around the Roots: Use a shovel or digging tools to excavate the soil around the cut roots carefully. Create enough space to access the roots for extraction.
Expose the Roots: Gradually expose the cut roots by digging deeper and widening the hole. Exercise caution to avoid damaging the nearby landscape or structures.
Leverage and Extraction: Depending on the size of the roots, you may need to use a lever or digging bar to pry the roots from the ground. Work slowly and steadily to avoid sudden movements.
Filling the Hole
Fill the Hole: After successfully removing the problematic roots, fill the hole left behind with soil or fill material. Tamp it down to ensure proper compaction.
Level the Surface: Smooth and level the surface to match the surrounding area, ensuring it is safe for walking and landscaping.
Dealing with Stump and Regrowth
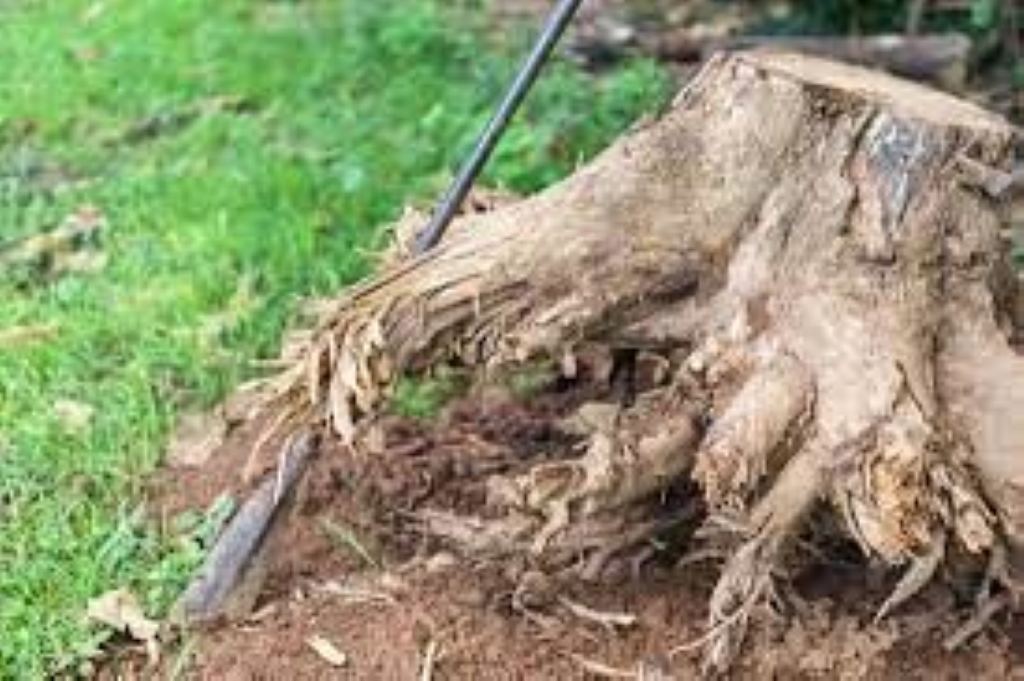
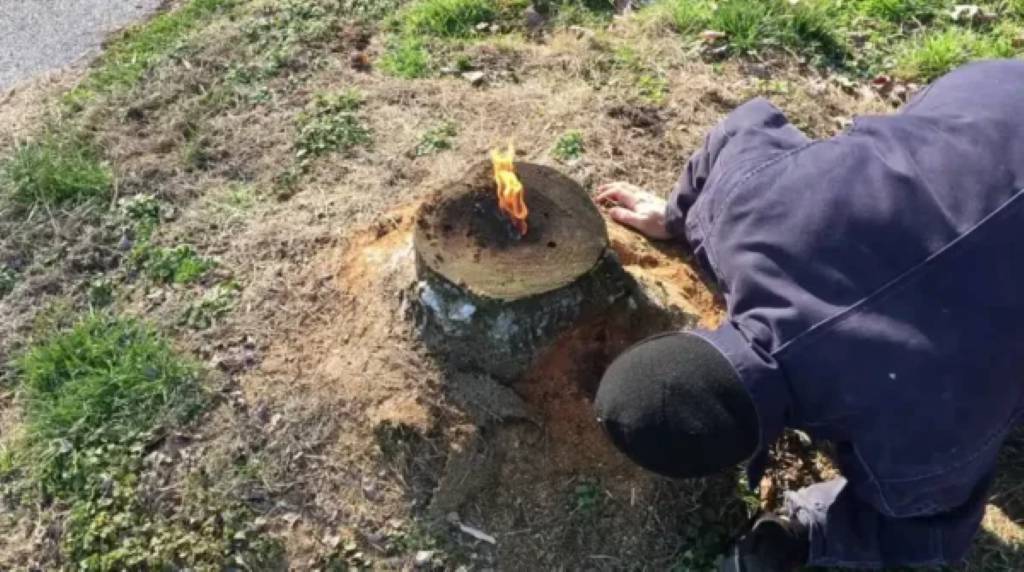
Stump Treatment (if applicable): If you have a remaining stump, consider using a stump grinder to grind it down to ground level. Alternatively, you can apply a stump remover chemical to facilitate decomposition.
Preventing Regrowth: To prevent the palm tree from regrowing in the same spot, you may need to apply a herbicide to the remaining stump or regularly cut back any new shoots that emerge.
Proper Disposal
Dispose of Removed Roots: Dispose of the removed palm tree roots and any debris in accordance with local regulations. This may involve recycling or taking them to a designated disposal site.
By following these step-by-step instructions, you can confidently tackle the process of removing palm tree roots while minimizing risks and ensuring a clean, safe outcome for your landscape.
Dealing with Stump and Regrowth
After successfully removing the palm tree roots, you may still have to contend with a stump and the possibility of regrowth. This section will guide you through the steps to address these issues effectively.
- Stump Treatment (if applicable)
- Stump Grinding (Recommended)
Use a Stump Grinder: If you have access to a stump grinder, it’s the most efficient way to eliminate the remaining stump. Follow the manufacturer’s instructions for safe operation.
Grind to Ground Level: Gradually grind the stump down until it’s level with the surrounding ground. This will ensure a smoother, safer landscape.
- Chemical Stump Remover (Alternative)
Apply Stump Remover: If a stump grinder is not available, you can opt for a chemical stump remover. Follow the product instructions for the best results.
Be Patient: Chemical stump removal takes time. It typically requires several weeks to months for the stump to decompose fully.
- Preventing Regrowth
- Herbicide Application
Apply Herbicide: To prevent regrowth from the remaining stump or root system, consider applying a suitable herbicide. Choose one designed for palm trees and follow the manufacturer’s instructions.
Timing Matters: Apply the herbicide immediately after cutting or grinding the stump to maximize effectiveness.
- Regular Shoot Removal
Monitor for Shoots: Keep an eye on the area for any new shoots or sprouts that may emerge from the remaining roots.
Cut Back Shoots: Regularly cut back any new growth to discourage regrowth. Ensure you cut as close to the ground as possible.
By addressing the stump and the potential for regrowth, you’ll complete the palm tree root removal process thoroughly. Keep in mind that preventing regrowth may require ongoing maintenance, but it will help maintain the desired landscape in the long run.
Related Posts:
Maintenance and Aftercare
Completing the removal of palm tree roots is a significant accomplishment, but it’s essential to follow up with proper maintenance and aftercare to ensure the long-term health and aesthetics of your landscape. Here are some crucial steps to consider:
- Regular Inspection
Monitor for Regrowth: Periodically check the area for any signs of palm tree regrowth, including new shoots or sprouts. Promptly remove any regrowth to prevent the problem from reoccurring.
- Soil Rehabilitation
Improve Soil Quality: Consider enhancing the soil in the area where the roots were removed. Add organic matter like compost to improve fertility and drainage. Healthy soil promotes the growth of desired plants.
- Landscape Restoration
Replace or Replant: If the root removal process damaged other plants or landscaping features, replace or replant them as needed. Ensure the new additions are well-suited to the space and climate.
- Regular Maintenance
Mulch: Apply a layer of mulch to the area to help retain moisture, regulate soil temperature, and suppress weed growth.
Watering: Monitor the area’s water needs, especially during dry periods, to support the recovery of the landscape.
- Professional Arborist Consultation
Arborist Assessment: Consider consulting with a professional arborist to evaluate the health of any remaining palm trees in your landscape. They can provide guidance on care and maintenance.
- Preventive Measures
Choose Suitable Trees: When planning new plantings, select tree species that are less likely to cause root-related problems in the future.
Root Barriers: In areas where you want to prevent root encroachment, install root barriers during the planting process. These barriers redirect root growth away from sensitive areas.
- Record Keeping
Maintain Records: Keep records of the root removal process, including dates, methods used, and any issues encountered. This documentation can be valuable for future reference.
By implementing these maintenance and aftercare practices, you can ensure that the area remains healthy, free from regrowth, and aesthetically pleasing. Remember that landscaping is an ongoing process, and periodic attention will help you achieve and maintain your desired outdoor environment.
Conclusion
Removing palm tree roots can be a challenging task, but with the right knowledge, tools, and safety precautions, it’s a manageable project. Whether you’re reclaiming your outdoor space, addressing safety concerns, or enhancing the aesthetics of your landscape, the steps outlined in this guide can help you achieve your goals.


